Please follow the steps below to create a new Firebase project, upgrade it to the Blaze (Pay-as-you-Go) plan, and grant our development team access.
Step 1 — Create a Firebase Project
- Go to the Firebase Console: https://console.firebase.google.com/
- Sign in using your Google account.
- Click Create a Project.
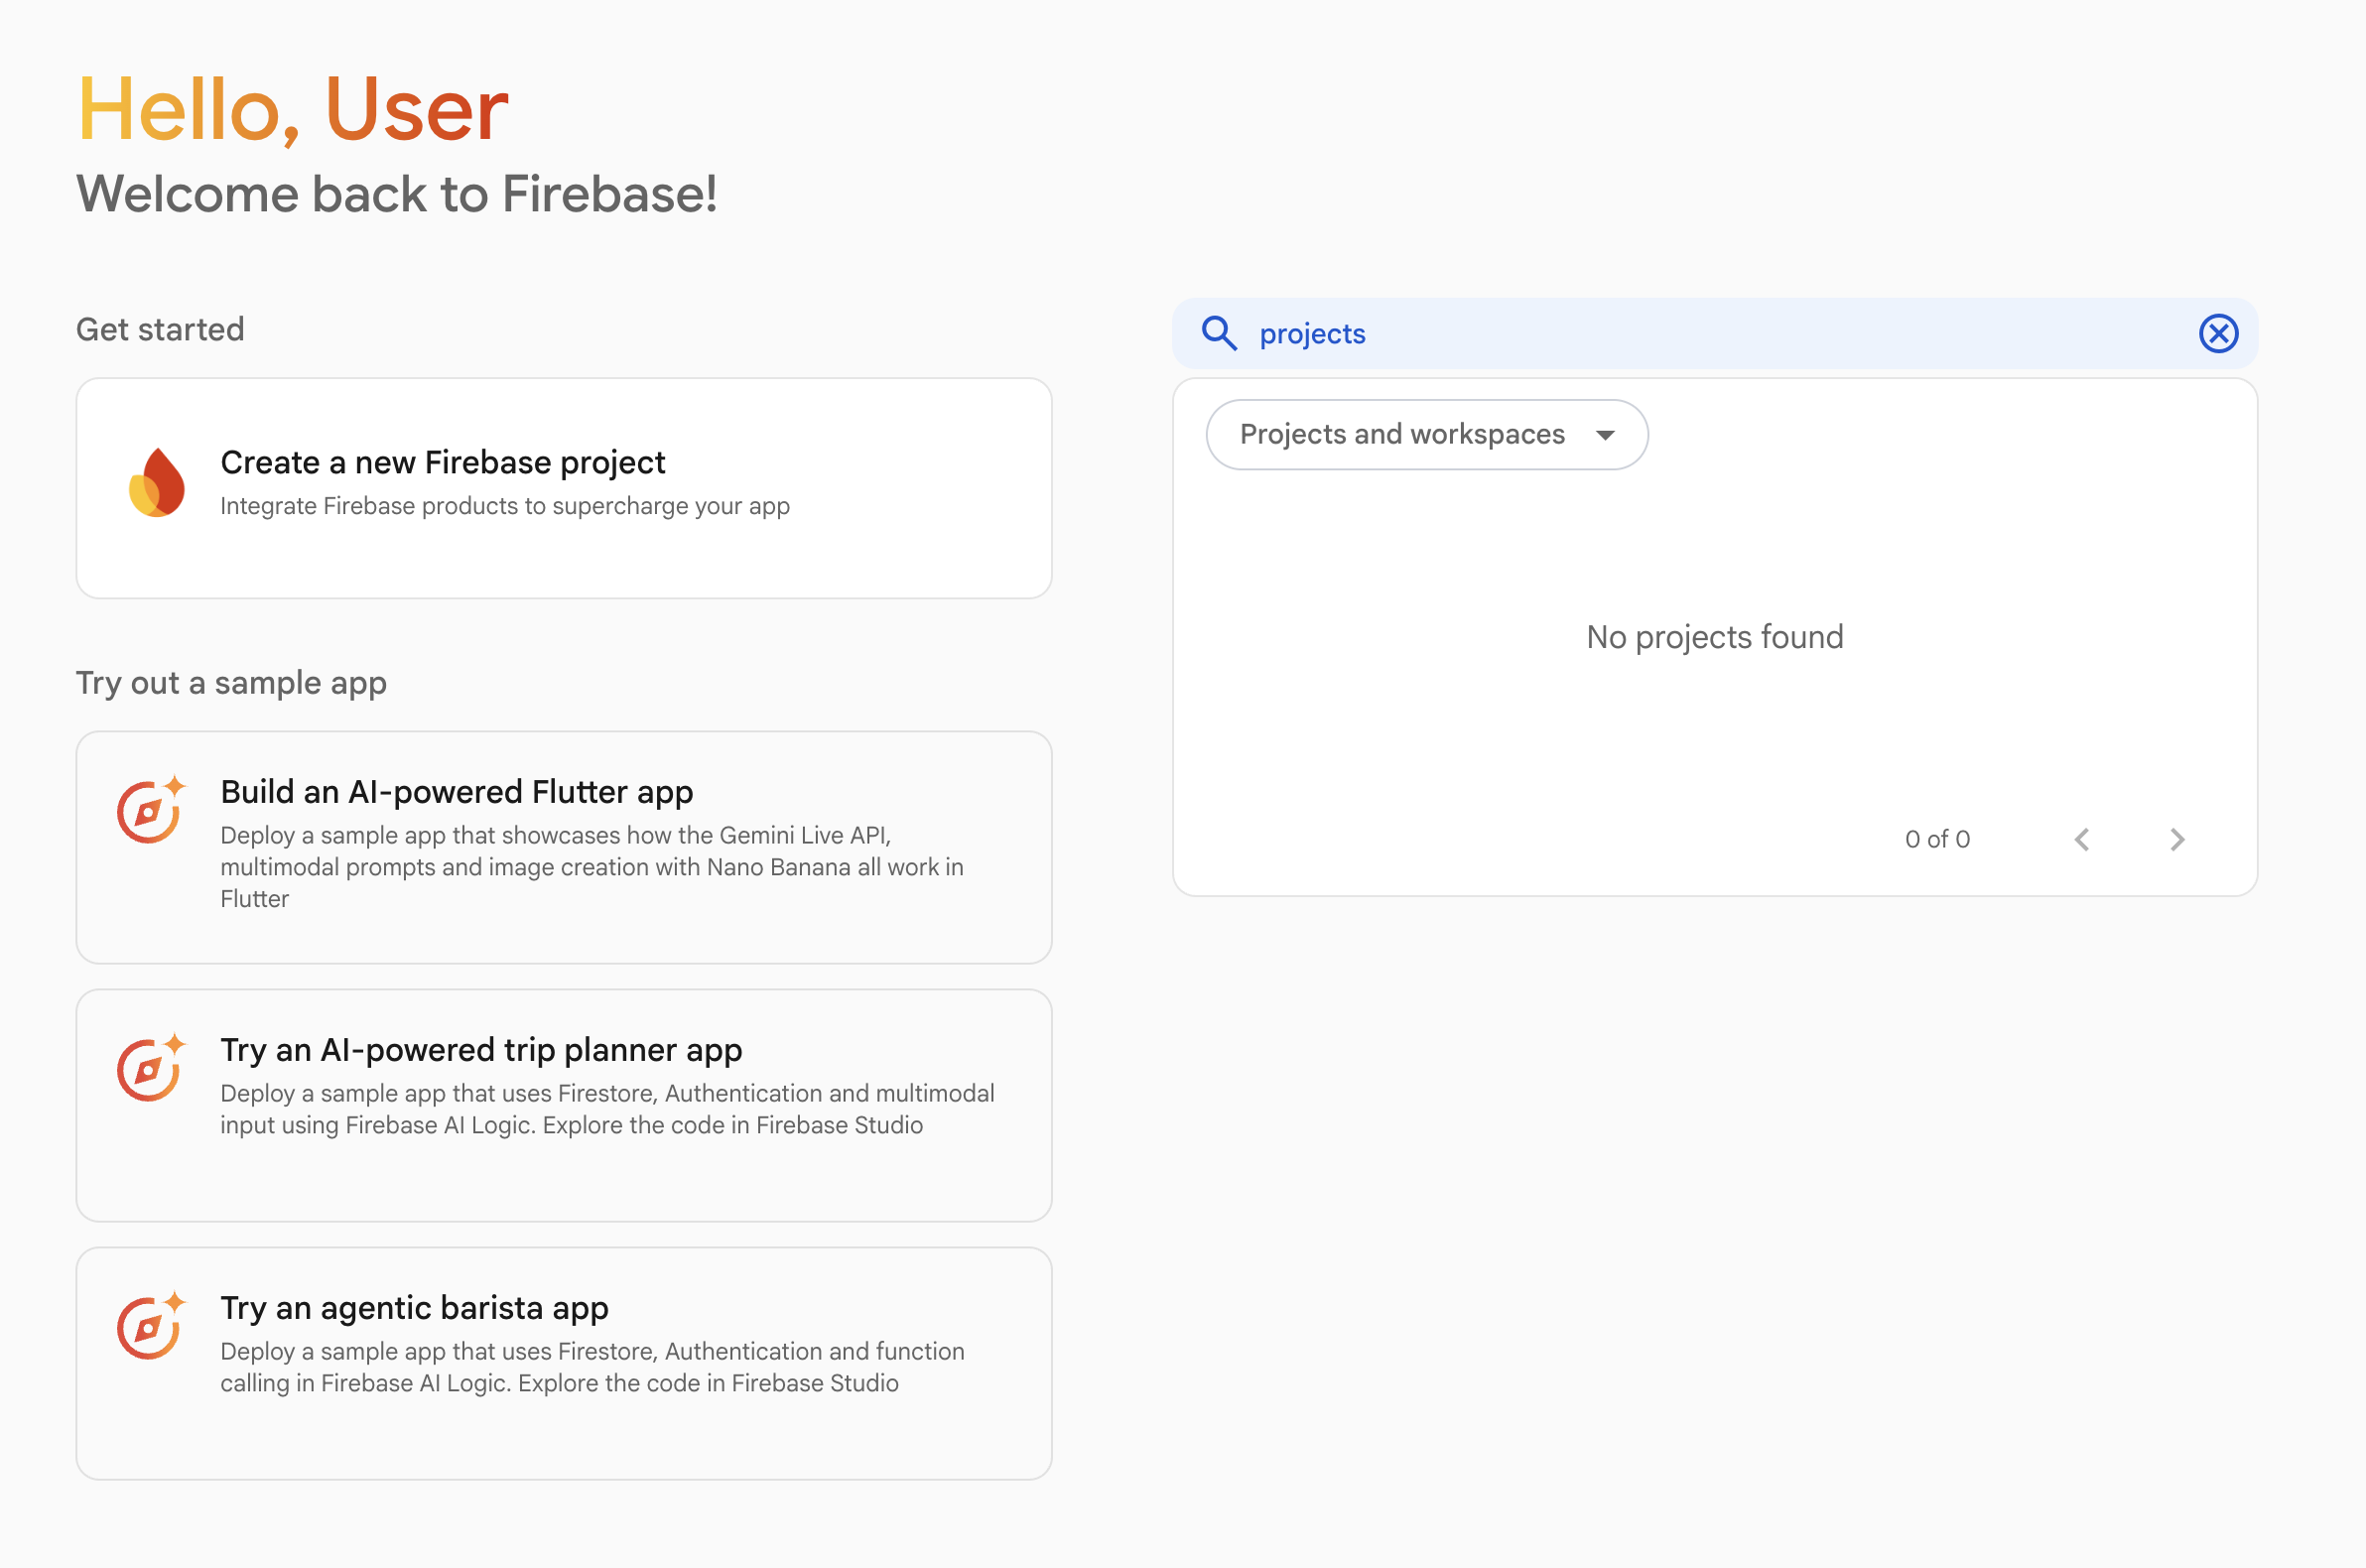
- Enter your project name.
- Click on continue buttons and DO NOT disable Gemini and Google Analytics switches.
- Click Create Project and wait for Firebase to finish provisioning the project.
Step 2 — Upgrade to the Blaze Plan
Our CMS requires the Blaze (Pay-as-you-Go) plan in order to use services such as Cloud Functions, Cloud Storage, App Hosting, and other Google Cloud services. Linking a Cloud Billing account automatically upgrades the project to the Blaze plan.
- Open your newly created Firebase project.
- In the lower-left corner, click Upgrade.
- Select the Blaze (Pay as you go) plan.
- If you don’t already have a Cloud Billing account:
- Click Create Billing Account
- Add your payment information
- Complete Google’s verification process
- Set up the budget alert to a number you would like to receive the notificartion from Firebase (Default is 25 dollars)
- Select your billing account.
- Confirm the upgrade.
- Verify that the project now displays:
Plan: Blaze
Note: Firebase uses pay-as-you-go billing. Google only charges for usage beyond the free quotas. You can also configure billing budget alerts to help monitor spending.
Step 3 — Invite Our Development Team
- In the Firebase Console, click the ⚙️ Settings icon.
- Select Project Settings.
- Open the Users and Permissions tab.
- Click Add Member.
- Enter the following email address: bookmitech@gmail.com
- Assign the role: Owner
(Owner access is required so we can configure Firebase services, authentication, hosting, databases, storage, Cloud Functions, and deployment.)
- Click Add Member.